Devin Devine, dry stone wall contractor
devin@devineescapes.com
DIY phone consultation services available
Ask Devin, dry-laid flagstone construction overview
So I’ve written a few how-to type articles on my blog. These posts all have comments at the bottom of the page, and some of these posts have accumulated 100+ comments–all people coming to me with questions about their stone patio projects. The following post has been compiled and arranged from answers given over the years, in the comment section of this blog post.
Hey Devin,
Enjoyed reading through your blog. Helped me make my decision on finishing a flagstone patio. While reading through your blog I copied bits and pieces and decided to share “your responses” w/your readers. Hopefully they will zero in on these notes thereby not having to ask the same questions over and over again thereby freeing you up to go work on that next patio! Cheers from Austin TX
David Abel
Thank you, David! If you’re looking for a job as an editor…I may be hiring!
So here we go, 3 paragraphs providing an overview of how to build a flagstone patio, followed by various “hot tips”/answers to frequently asked questions. Without further adieu:
How to build a Dry Laid Flagstone Patio
dry laid flagstone foundations
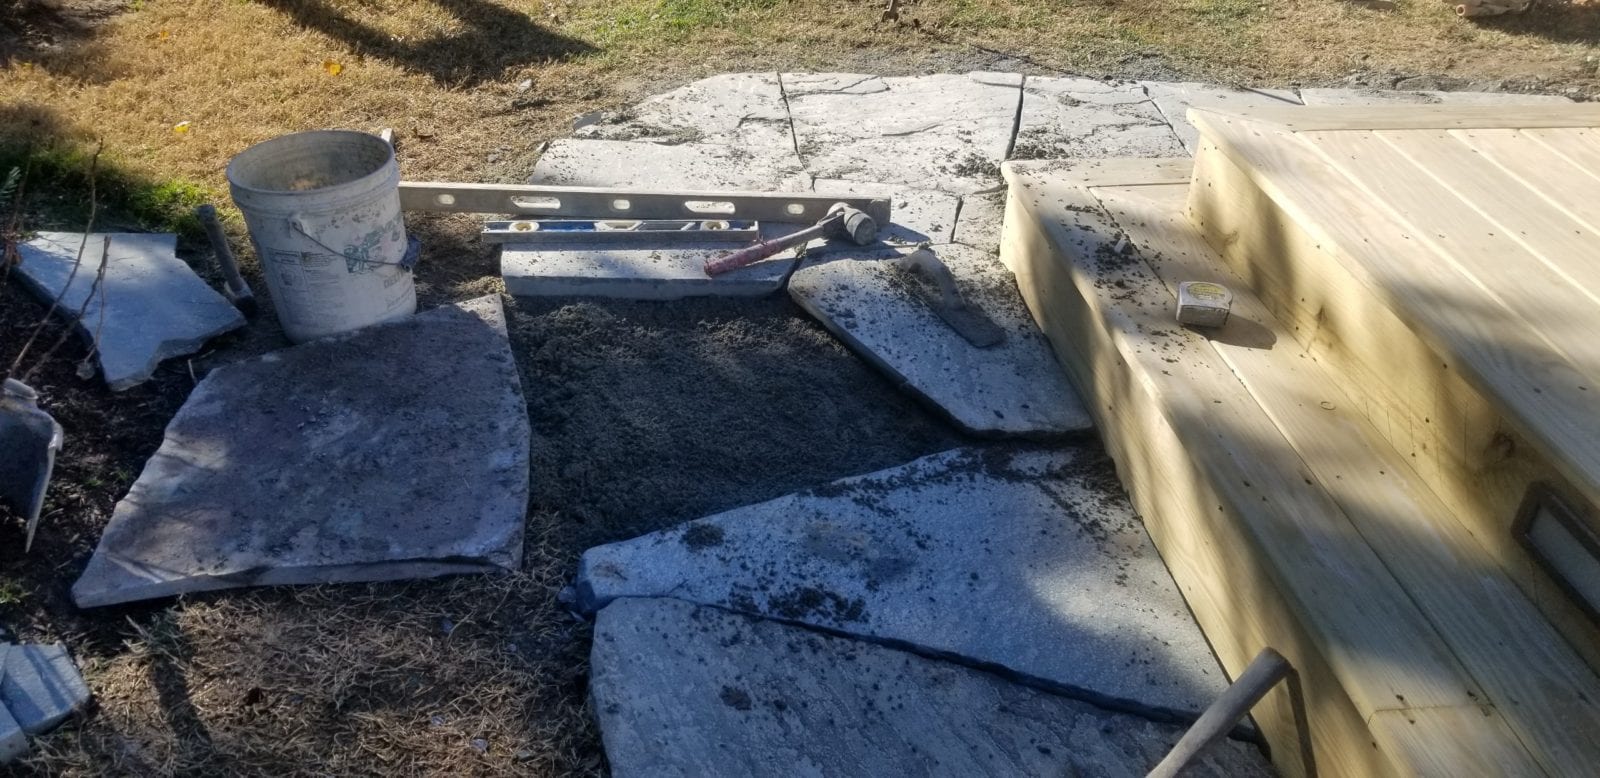
What I do is dig down about 7 or 8 inches, tamp the soil, then lay 4 to 6* inches compacted road base (the 3/4″ inch stuff with fines). My goal is to have at least 4 inches, that’s why I say 4-6. If the goal is only 4, you’ll end up with spots that only have 3. I then lay out my flagstones and one at a time level them out, raising them up as needed, with a half inch to an inch and a half thick stone dust. Stone dust will consist of 8th inch chips of stone, then small bits, all the way down to fine stone dust, like flour. This stone flour, when dampened, binds up a bit, helping to keep the flagstone joint material in place. I don’t ever go a full two inches thick on the stone dust myself…and if I needed that much to raise an individual stone in order to get it high enough, then I’d probably just lay an inch of gravel first, for that stone, tamp it, and then bring in an inch of stone dust. Reason being is that stone dust is not quite as sturdy as the road base.
*a solid 6″ in cold places, less in warmer places
storm water and stone patios
To handle storm water, I set my flagstones at a pitch of about 2.5″ fall over 10′ of span. This is the same as saying 1″ of fall over 4′. So as I’m leveling out my stones I can use a 4 foot-level and know that the bubble should center itself neatly, if I lift the level up one inch. In practice, the way that it works is I set up string lines, and get my gravel foundation set at about 2.5″ fall for ever 10′. This number is approximate–for some projects it may be more like 2 inches, or 3. Less than 2 and water might not flow off the patio fast enough and might leave a bit of a puddle that takes some time to settle. If you make the patio much steeper than 3 inches, it could potentially feel like you are on a slant, rather than feeling level.
leveling out flagstones on stone dust

When I finish laying a flagstone patio, it’s usually about 85 percent wobble free. I then sweep in the stone dust between the joints, hose it all down and repeat, multiple times. After that, I’ll check the whole patio for wobbly stones, and use the mallet to correct any that I find, lifting up stones and placing more stone dust beneath them as needed, malleting them down, sweeping in stone dust and hosing down again. At the very end, the patio may be like 98% wobble free. The flagstones feel rather stable. If you walk around, you may notice a minor wobble underfoot…if you used stone dust as both your leveling agent, and as your joint material, this small amount of minor wobble will correct themselves over time. I’ve never once noticed any wobble, on any of my dry stone patios and flagstone walkways, when I return months, or years later–so minor wobble will definitely correct themselves.

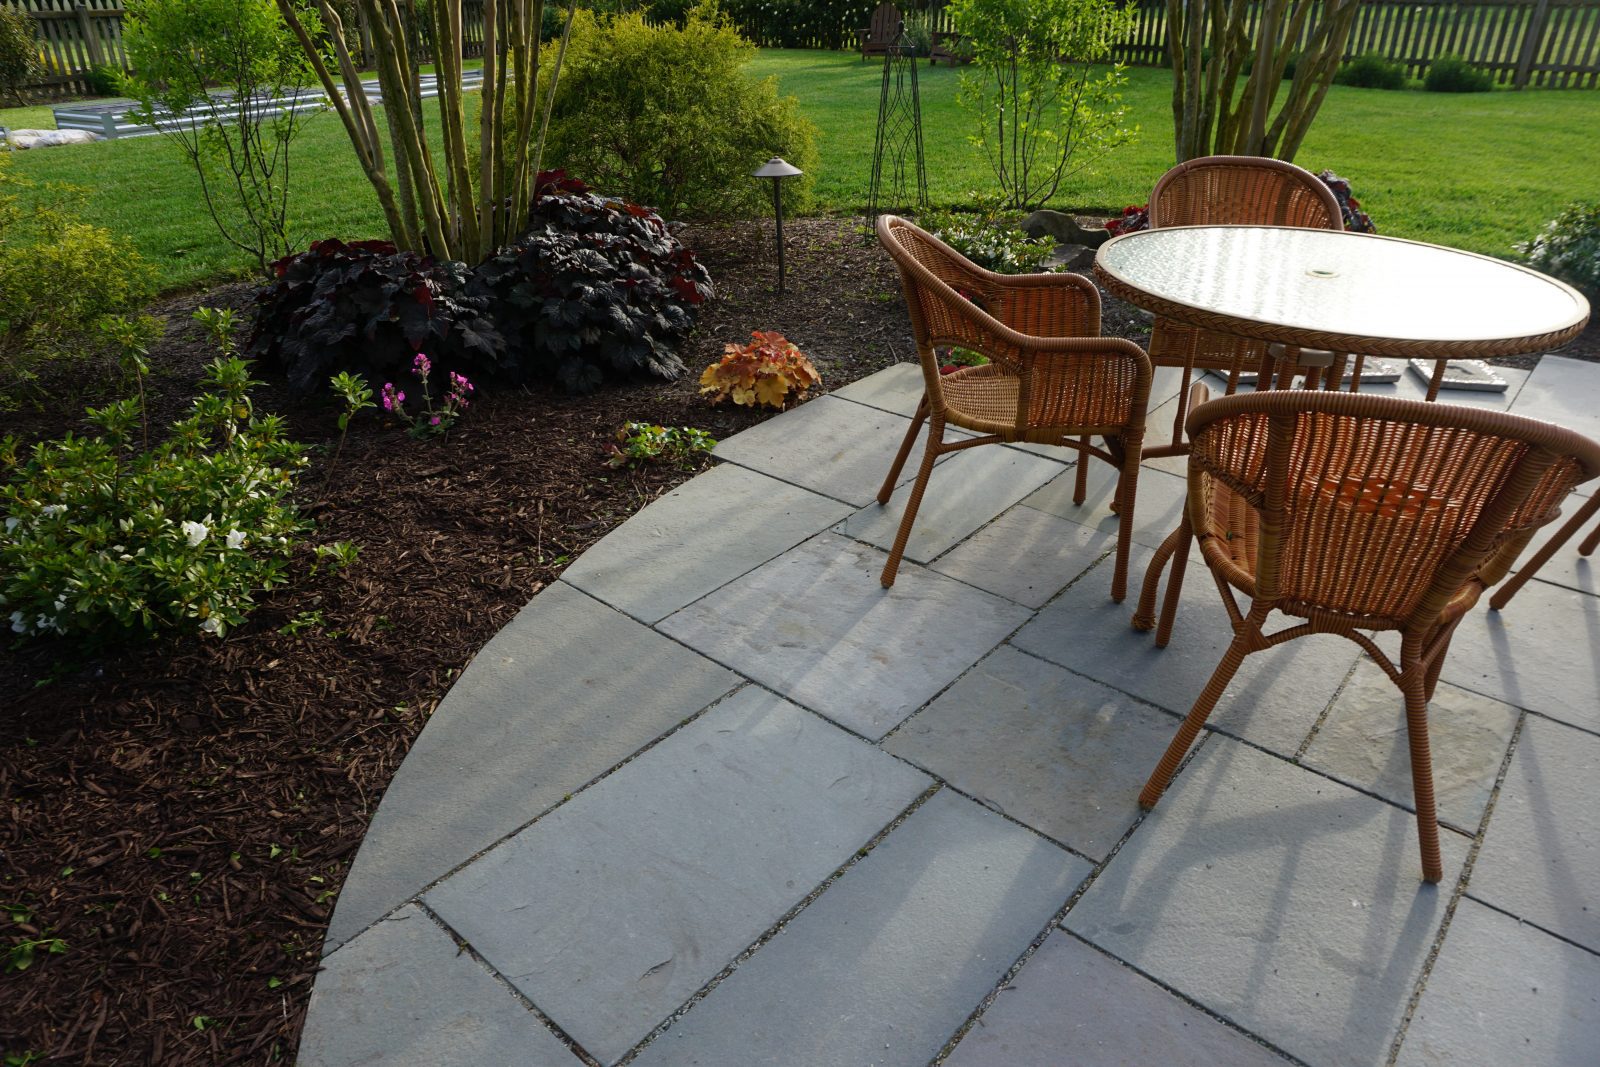
dimensional flagstone patio
Notes:
- An inch or so of granite fines (screenings) for leveling the flagstone. No joints wider than a couple inches. Screenings for in between the flagstones.
- Polymeric sand is prone to failing–as described in earlier articles, and many of the replies.
- 1-inch stones are a bit thin, for dry laid. I prefer 1.5- 2.5 thick for dry laid flagstone.
- Just make sure foundation or bedding material is perfectly smooth, and gently mallet each stone into the bedding material. Stones less that 1 square foot in surface area will be prone to not sitting stable.
- When laying out my stones I always place the largest around the perimeter first for stability.
- Ants love sand. Sand with bricks or stone atop it is a big flashing neon invitation to ants who go marching a thousand by a thousand and they all go down to the ground, to excavate your patio! You have your flagstone sitting right on sand and then they will undermine you, and within a few years you will have flagstone with big voids under them, and it will be a big problem.
- Weeds will grow in stone dust, with or without any soil actually getting into the cracks, some weeds will find a way to grow between your flagstones. Tighter flagstone joints will mean fewer weeds. Larger joints will tend to collect more mulch and soil than smaller joints…. soil gets on top of the patio, rain comes, and soil washes right over tighter joints, for the most part. Wider joints catch significantly more soil, because soil that washes on over the larger joints gets lodged in easier. Boiling water will easily kill any weeds between your flagstones–no bending over and pulling needed, no toxic weed killer needed…no need to mix soap+ salt+ vinegar or anything like that (and such home weed killer recipes like that will harm nearby lawn and garden plants as well)–just boil some water.
- The thing about dry laid is (…..) You have to fit the stones tighter, because you are filling the joint with stone dust, rather than cement or plastic-sand. You have to pay attention when leveling out the stones, because you are not just squishing them down into wet mortar. As such, most contractors just don’t know how to do dry laid. I know this because contractors call me almost as often as homeowners do, for phone consultations.
- Don’t overfill the joints with screenings/stone dust. You want your screenings to be a bit shy of the top of the flagstone–if the stone dust comes up even with the top of the flagstones, then the stone dust will easily kick out and spill all over the place. Sweep your stone dust into the joints, then hose down, on shower setting. Leave the joints 1/8th of an inch to a 1/4 of an inch low. You can use the hose to wash out excess stone dust.
- Stone dust aka quarry screenings aka grit aka quarry dust as the final leveling agent.
Thank you David for collecting this, this just might be really helpful to someone

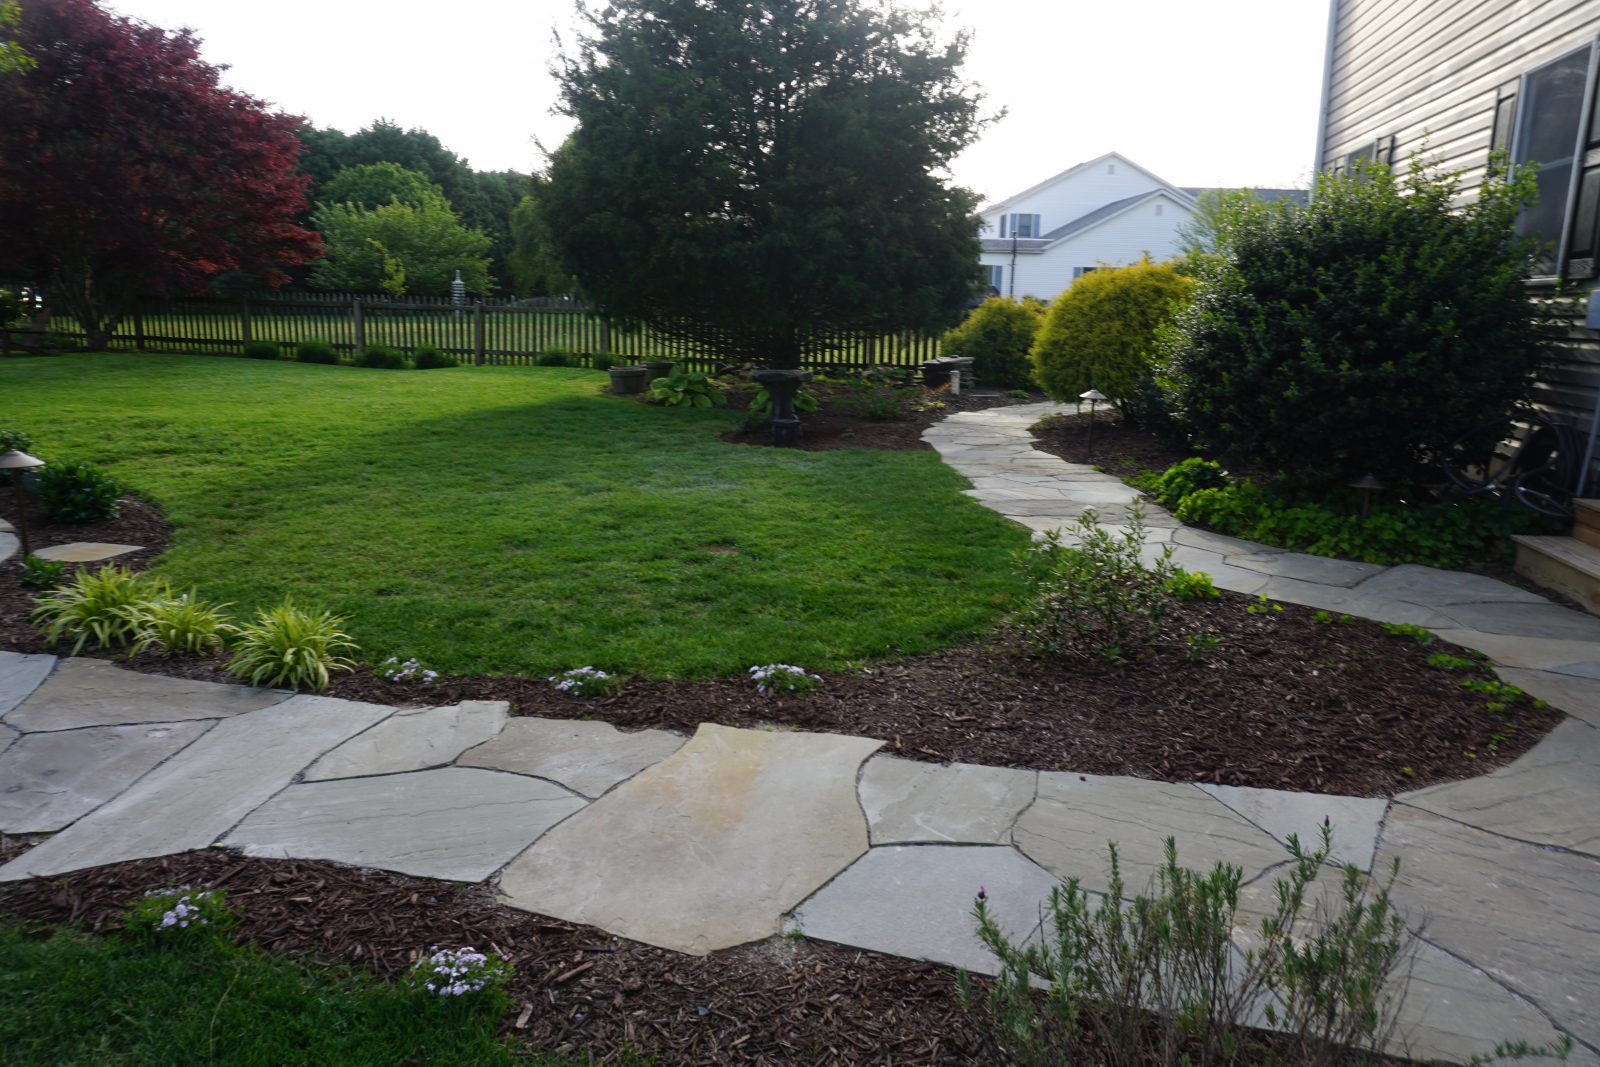
natural stone pathway
More how-to and DIY hardscape and flagstone articles by Devin Devine:
- Dry Stone Wall Foundations
- how to build a dry stone wall
- DIY phone consultations
- polymeric sand and flagstone
- flagstone foundations, sand, gravel, cement–what you need to know
- how to cut flagstone using just a hammer
- leveling dry laid flagstone
- how to make natural flagstone look right/puzzling them together
Devin, you provide a great resource! Your how-to article above is about patios. There’s a pic of a stone pathway above. For a pathway using 1.5”+ bluestone (irregular shape) dry laid, do you recommend the same base materials and fill for joints 4-6” road base with 1-2” stone fines) as discussed for the patio? If so, do you install containment, or just extend the gravel and stone dust 6-12” beyond the outside edges of the stone? Would you ever use concrete base for 3-4’ wide bluestone pathways? And do you seal the bluestone? We are located in Southern California. Many thanks ~ Mike
Stone patio and stone pathway: same foundation, same installation. Always have larger stones along the perimeter/no small stones along the edge…and pathway is all edge. No containment–just use large stones on the perimeter. Foundation need only extend 3″ to 6″ inches beyond the intended size of the patio, or path. No concrete–and certainly no seal.
In Southern California, where you have no freeze-thaw cycle to worry about, 4″ of road base is good.
Many thanks for your thoughtful reply with links to helpful articles. All three contractors have bid 2-4” concrete base under the flagstone walkway. Perhaps it is because there is no frost heave in the area, or simply because it is cheaper. We get earthquakes occasionally so I prefer your recommendation for a gravel base which won’t crack and is repairable. I may ask each contractor if they are willing to consider this alternative.
Setting flagstones in mortar on a concrete foundation is easier… Since the joint material is mortar, you can get away with a wider joint. To level the stones you can just push them down into the mortar… You can get away with using smaller stones along the edge.
My concern is if these guys are all recommending doing wet laid (the easier option) then do they even know how to properly build a dry laid stone patio?
Hi Devin – I’ve been reading your blog looking for inspiration for a large flagstone project in my backyard.
I’ve been doing a fair amount of research on a traditional base layer versus synthetic paver base such as the Brock (http://www.brockpaverbase.com/why-paver-base/). If I were to use a synthetic paver base, it’s definitely a DIY project versus having to pay somebody to do a traditional install.
I’ve read the pros and cons for these pavers, however my real question is for anyone who’s had practical experience with them and to hear a professionals thought processes around the long term durability of this material.
Any insights or opinion would be helpful.
Michael
If long term durability is the concern. then it is going to be a safer bet to go with something time-tested, rather than something very new. This brock paverbase polyproylene product….is something man made and rather new–was only invented in 2010.
Circa 2006, I started seeing similar products to this. They called it cell-tek, or something similar. It was like a beehive/lattice pattern, 2″ thick, of these plastic cells….you filled the cells with gravel–and that was supposed to replace a traditional gravel foundation. This made it so you only needed about 2″ of foundation, rather than 6″.
The company, or companies involved made a big hype machine, a gee-whiz sorta look at how modern science is making life better sort of buzz. But nothing came of it. They then partnered up with the glue-gravel people. The glue gravel people had this goop, that you mixed up with your gravel, then spread it out and it hardened. Another exciting product. It was supposed to make gravel stable, so you could make gravel paths, but the gravel didn’t scatter, Again, “gee, whiz”, right? But the product just made your gravel or decorative rock look like a cross between asphalt and rice cripsy treats. Anyway, this gravel gloop was marketed along with that cell-tek business. You’d have 2″ of plastic honey-comb looking “cells” and then an inch and a half or so of glooped gravel. Only 3.5 to 4″ total.
As a young contractor, I was subbed out to run one of these celltek/gloop jobs. I wasn’t overly impressed. All that money on the product, and it only saved us a few inches of digging? Unfortunately, I never got to inspect that job three years later–I was not the general contractor, just the sub, so I can’t say how well it held up. What I do know is that 15 years later, not much has become of that celltek product and not much has become of that gloop either.
Digging isn’t so hard. Buy a pick maddock, a spade shovel and a jackson wheelbarrow, you’ll be alright.
To me, this brock paver base looks like more of the same. You still need to dig a couple inches in order to level the spot out, spread out the sand and fit your panels–while you’re at it, you might as well just dig 9 inches down–6 for your compacted gravel base, 1 for your stone dust leveling agent, and 1.5 to 2 inches for your stone.
Looks like it will save you a bit of work, but not really that much work…digging is not the biggest part of the job. Takes me a day to dig, then half a day to lay the foundation….then takes me 10 days to fit the stones nicely and a day and a half to level them out…offer me a product that saves me half a day of the digging–and I’m not going to be impressed.
Same thing with polymeric sand and plastic edging–you do not need plastic mixed into your flagstone work, in any way.
Devin, wanted to ask a question on laying a Flag Stone walkway on a slope. The 3 foot wide walkway has a rise / run of 42 inches over 300 inches (25 feet). Construction is 4 inches of gravel with fines under about 1/2 inch stone dust. I prefer not to incorporate steps and just lay the stone to the slope. You have any issues with this approach? Your site has been much appreciated! Regards Jeff
Jeff,
I don’t have any immediate problems with that approach. Usually, I prefer to add a few steps, in that sort of situation. If your walkway is too steep then joint material may tend to wash out, from storm water. But then 3.5′ over 25′ is really not super steep. I’ve done flagstone ramps steeper than that and they worked out fine… Mind you, I keep my joint tight. Tight joints will tend to wash out less, compared to wider joints. Furthermore, with tighter joints, it’s less of an issue if the joints are sometimes low or empty. Also, I always prefer to use larger or medium sized flagstones, avoiding smaller pieces–now, with a walkway on more of a slope than usual, large enough flagstones becomes more important. Smaller stones will tend to shift underfoot more than larger ones, and on such a slope, it can be a potential trip hazard, so select for larger and/or thicker stones.
Thanks for the reply. I will reassess the size of some of my stones. Because of the slope, I plan on bordering the walkway with some 4″ cobble stones set in concrete to help prevent washout from of the edges. Do you have a suggestion on the material for the joints?
Thanks for the great information. Well done.
Devin, really appreciate all the great info! I am in the middle of dry laying a flagstone patio, and getting to the point to leveling the stones and filling the joints. Was planning on the polymeric sand, but you do a great job of explaining the cons to that method. So now planning on filling the joints with decomposed granite. I found a source that provides bags of granite “pathway fines”, but in the picture it looks almost like a powder. They also have bags of crushed granite gravel that are 1/8″ or less. Thinking about mixing the two together to create something more like “screenings”? I am leveling the flagstone on limestone screenings, just don’t like the white color. The granite has more of a gray color.
Thoughts on this approach, or would you just stay with filling the joints with the granite fines?
IDK, really. I’ve seen pathway fines in California–that was just powder. I’d prefer to have 1/8 and less. A mix seems reasonable enough, if no place local will sell you 1/8″ minus. But pretty much every quarry that makes gravel also makes 1/8 minus, so I’d call around, before mixing.
Thanks to David for compiling the details in one place and thanks Devin for posting it here for us DIYers. Don’t forget Devin’s stretch and hydrate rules too. And in terms of protecting our bodies, I am wondering if you have any tips for the proper form for tamping. As you know from our consultation call (which I very highly recommend folks!), I am working on a flagstone patio. I think all the tamping is taking its toll on my lower back so I wonder if there’s a better way to do it. Any hints for better form? Thanks in advance for any tips you might have.